Friday, June 17, 2011

Mod Green Pod Baby Blanket finished!

Mod Green Pod Blanket

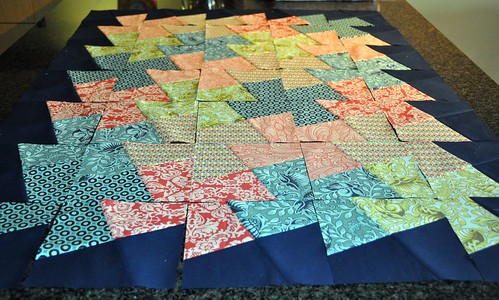
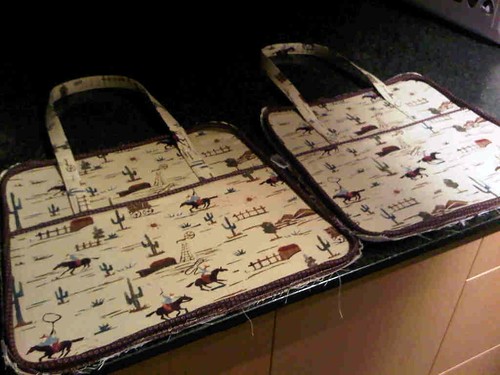
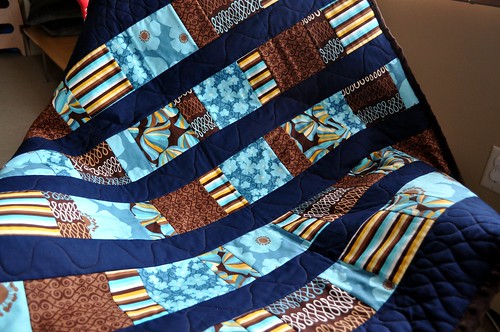
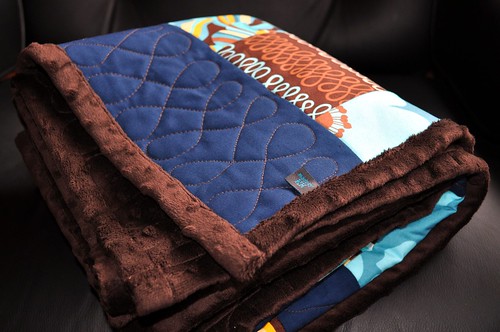
I finally finished this quilt up last night and am so pleased how it turned out. I bought the fat quarter stack of Mod Green Pod from a little quilt shop in Canmore, just an hour's drive from Calgary. The colors were so vibrant, I was immediately drawn to it. I didn't know what to pair this with to make it a little more boy, but the lady who helped me suggested using navy blue. I really couldn't see using navy but in the end I used her advice and it was perfect!

Mod Green Pod Blanket

I used warm n natural for the batting inside then machine quilted some loops and waves and did a little stitch in the ditch to quilt. As you can tell in some of the close ups, free motion quilting while two little ones are nearby doesn't help keep the lines free flowing and steady.

Mod Green Pod Blanket

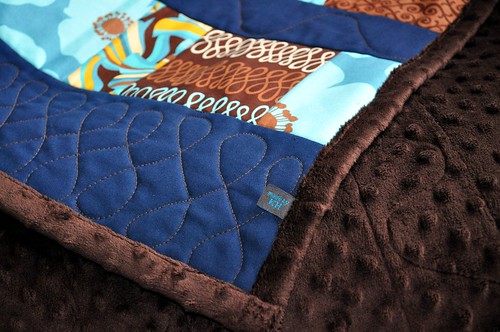
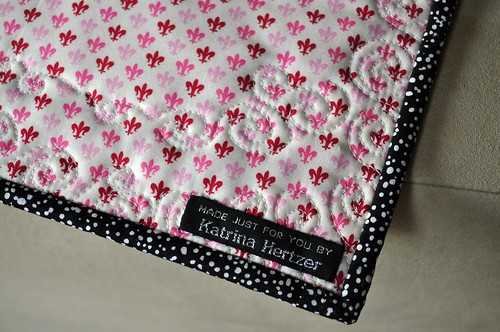
A close up of my new labels from World Wide Label in Hong Kong. They sell on Etsy and the customer service is excellent! I received my labels less than two weeks to the day I pressed BUY on etsy!

Mod Green Pod Blanket

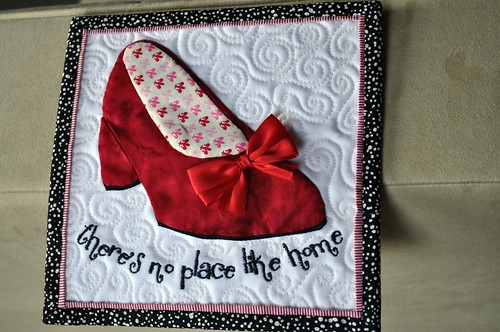
This is a gift for a friend's baby... now we just wait for the baby to come :) You can make your own quilt, the free pattern is from Sew Mama Sew's blog at: http://sewmamasew.com/blog2/2009/10/elizabeths-fabric-focus-charm-squares-baby-quilt/

Friday, June 3, 2011

Neptune Quilt Progress

Neptune Quilt top progress

So here is where my Neptune quilt is... I'm thinking of ordering some of Tula Pink's Prince Charming to complete a border. It's from the same color story and I'd really like to start sewing with some soon. Now which print to choose???

Scrappy Mug Rug Swap sent!

Mug Rug made for ruthiequilts

My partner ruthiequilts finally received her scrappy mug rug from me this week. She really loved the Wizard of Oz theme I followed. I haven't done much applique so this was definitely me going out of my comfort zone and trying to do something new. I am glad she loved the mug rug.

Mug Rug made for ruthiequilts

A little photo of the Tula Pink backing :)

Thursday, June 2, 2011

Amy Butler Weekender Bag!

Starting my Amy Butler Weekender Bag

I had the pieces for this bag cut and prepared for months now... I've been reading any and all blogs about how to go about this since there are many horror stories out there about this bag. Okay maybe not horror stories, but a lot of frustration. So I've been talking myself out of it for a while now.

Until now.... I decided just to get going and try.

Basting on the piping

Instead of using basting tape to encase the cording, I simply basted it on while making sure it stayed flush with the edge, saving me a step :)

Main Panels finished

Here are the finished panels ready to attach to the bag. Next I sewed the zipper to the top panels, which wasn't a problem. I had read that it was quite difficult for some, but I've done many types of zippers over the years so I'm comfortable with them. Not a pro but not a problem.

Sewing the zipper panel to the main panels

Next I machine basted the zipper panel to the main panels. This worked out okay for the first side but fitting the second side under was a bit awkward while trying to keep together. I ended up ditching all pins all together so I wouldn't poke myself.

On the next side I decided to hand baste.

Hand basting the main panel to zipper panel

I really liked this method and will use it the next time I make this bag. Far easier than manuvering the panels under the machine. To this point I broke 3 needles. I would say they were all because I was pulling at the fabric while stitching. Try to avoid that and just let the machine feed it.

Sewing the zipper panel to the main panels

Sewing the main panels to the zipper panel was easier after basting and I just went slow. Often I would sew about 5 inches and check to make sure I was getting close enough to the cording, then start again. This is the longest part of the sewing process and you need to proceed slowly. I would suggest trimming your cording by 1/2" on each side on the outside pocket panels before sewing on the outside cording around the whole main panel. This reduces bulk in that portion of the seam.

Exterior of Bag finished!

Yay! The exterior is finished!

Inside Lining w/pockets

I added pockets to the inside lining panels. Lots of blog postings suggest this too. A great addition :)

Hand stitching the lining to the exterior of the bag

Now I'm just working on hand basting the lining to the exterior of the bag. I really love the way it looks and can't wait to start one in my "good" home dec prints! I will post a finished photo soon!

Visit Lynne at Lily's Quilts!

Fresh Sewing Day