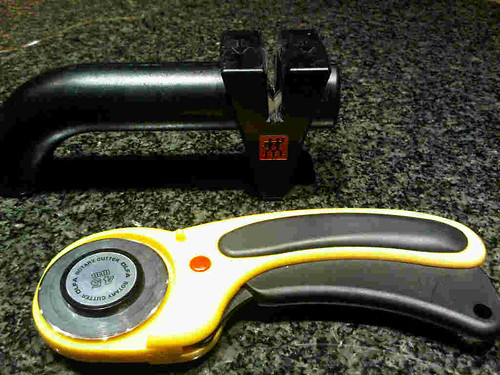
Tonight I got fed up with my rotary blade and decided to try and sharpen it with my knife sharpener. Very carefully I took the blade off the holder and passed it through the sharpener turning several times so each surface made it through at least once. The damage I did to it by running it into my ruler a couple times was gone and the blade was sharper than ever.... So if you want to try to revive an old dull blade, this just might work for you!

I finished my bag for
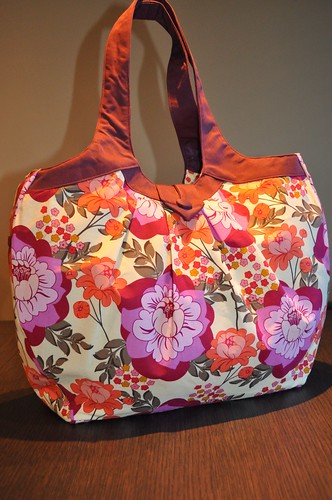
Sew Mama Sew's Super Style Bag Swap. My partner received her bag last week so I'm now able to post pictures I took before I shipped it off to her.

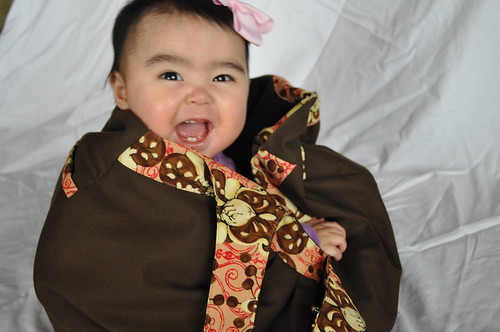
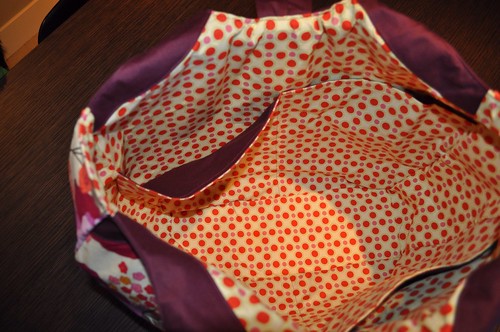
Little Marisol easily fits inside the roomy centre. We could have fit my 2 year old son in there too but he wasn't keen on getting in there with her.

It is a seriously roomy bag.
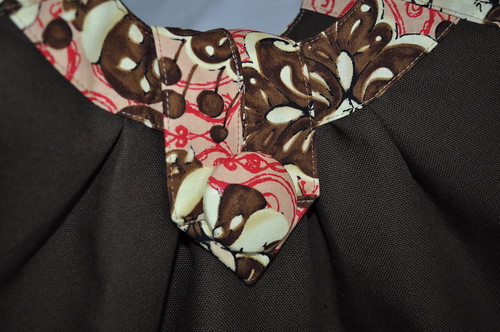
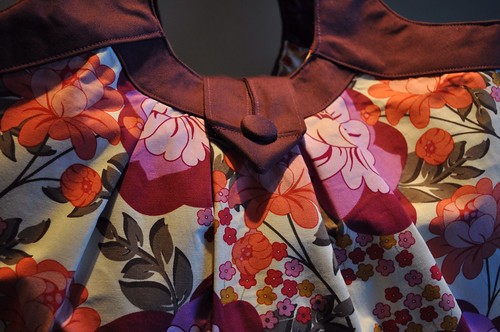
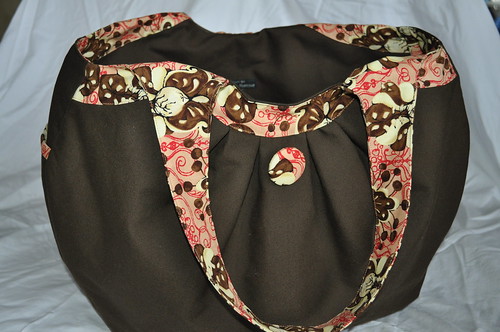
Button closure
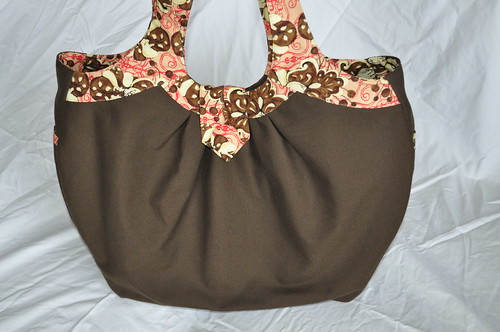
Finished bag!
The cosmo bag pattern was easy to make and I will definitely make it again. I think the most expensive part of this project was the cost of the woven interfacing. But it is definitely worth the price and the bag stands on its own because of the stability it provides. I think you need something like 6 meters for this bag alone.
The only thing I did not like about the pattern itself was that it was lacking a cutting layout guide. Everything is well written but the whole process gets wordy. A simple diagram would make the cutting process go much faster. I also made freezer paper pattern pieces for the ones only given as dimensions so when I make this bag again, it will go much faster. I also made duplicates of the handles since there is so many to cut from the print fabric and you won't waste as much fabric if you cut them all at the same time using two pattern pieces.
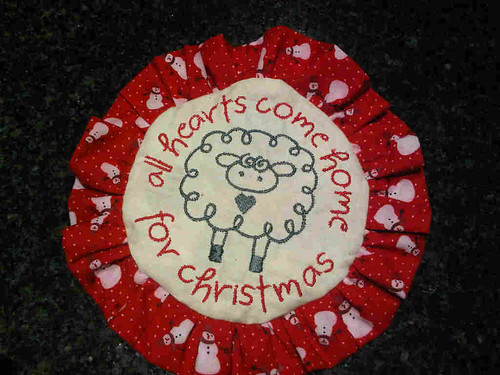
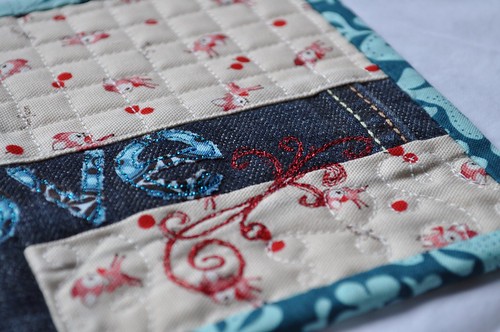
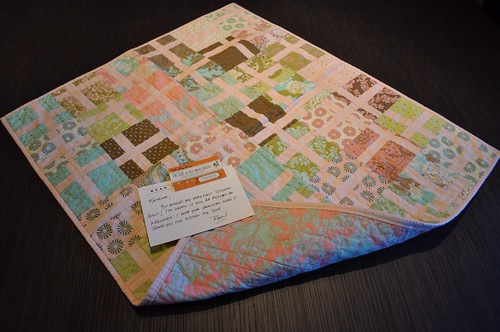
I also finished my ornament for GenX's HOHOHO Swap. I did the embroidery on my machine then I added ruffles to the sides. It doubles as a holiday pincushion. I hope my partner enjoys it!
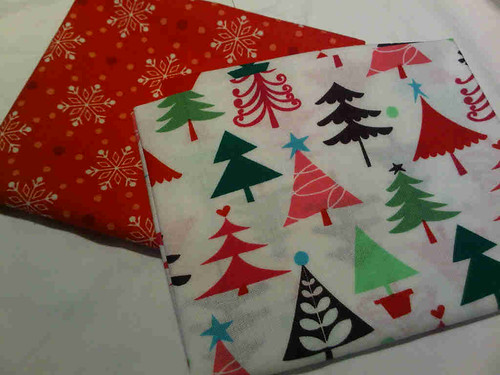
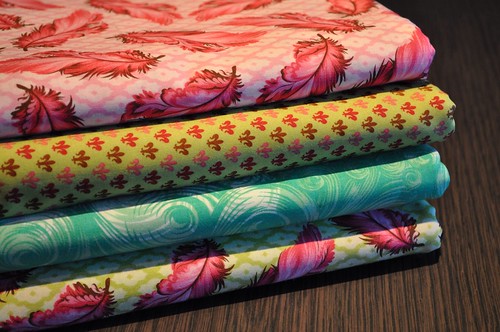
And I received two of the fat quarters from the swap as well. Aren't they super SUPER cute prints?